Quick Start to Home Assistant Data Science for Home Assistant Core users
In this quick start guide, we're going to show you how to set up and use JupyterLab, a data science environment. JupyterLab is the tool of choice for data scientists around the globe. Using JupyterLab we will run some reports on your own data. All reports are editable so you can quickly start experimenting and exploring more!
This guide explains the installation and setup of JupyterLab and expects a fresh Ubuntu 18.10 installation. However, it should be easy to adapt it for most other platforms. In case you are using Home Assistant, please check out the quick start to Home Assistant Data Science.
Preparing the system
Updating the system and installing the required dependencies.
sudo apt install python3-pip
Preparing the user environment
Create a directory for your notebooks and checkout the Home Assistant data science notebooks.
mkdir ~/notebooks
cd ~/notebooks
git clone https://github.com/home-assistant/home-assistant-notebooks.git
Create a virtual environment and activate it.
python3 -m venv .
source bin/activate
Install the Python requirements.
pip3 install jupyterlab
pip3 install HASS-data-detective
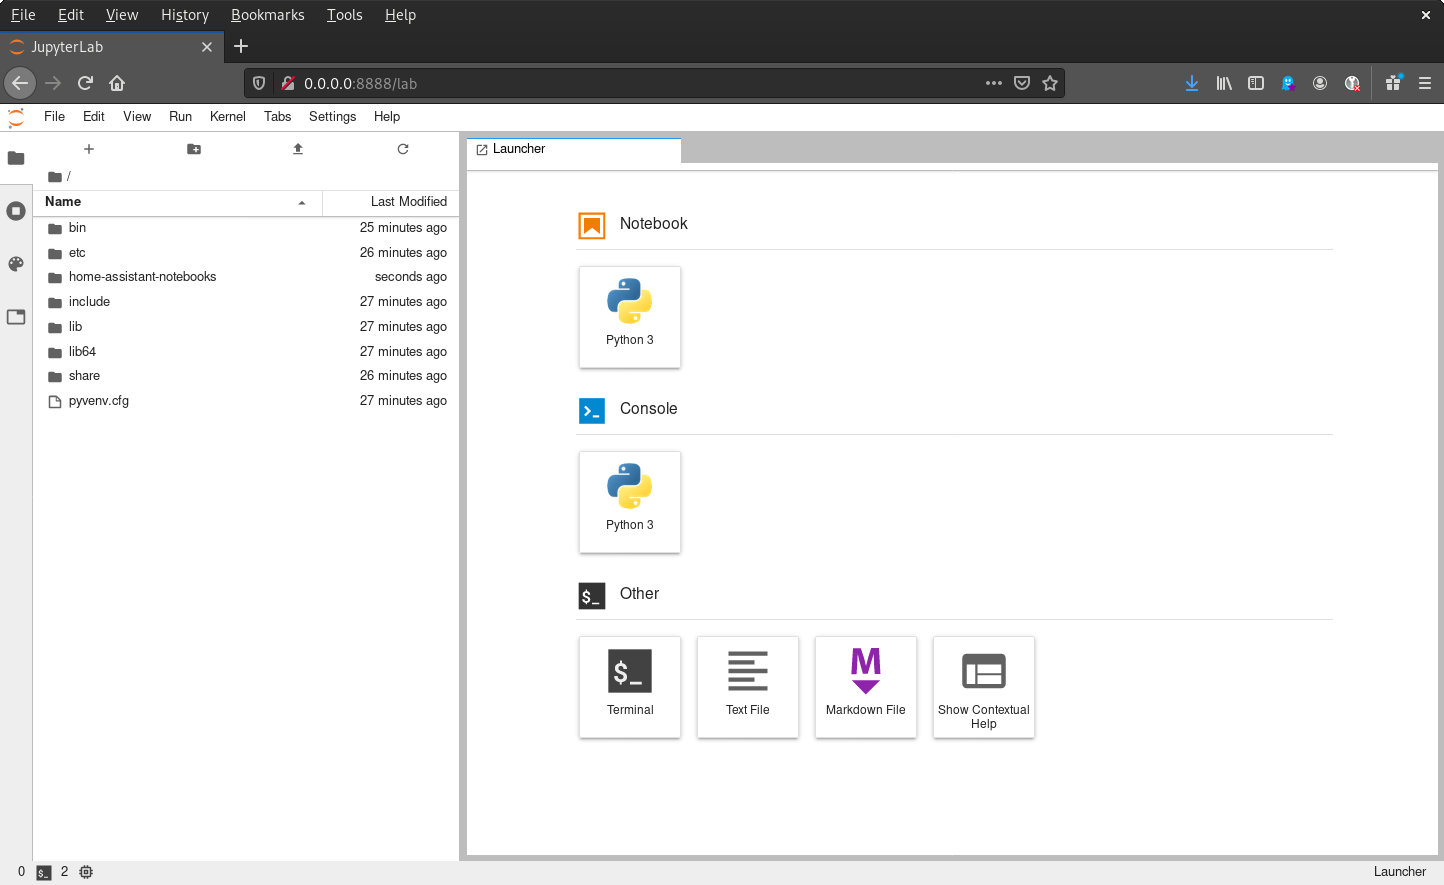
Launch JupyterLab
Launch the JupyterLab server from the command-line.
jupyter lab --port 8888 --ip=0.0.0.0 --notebook-dir=~/notebooks
If you are not using a separate database but the built-in one then you can skip the next section.
PostgreSQL
You need a user to access your database. This guide assumes a PostgreSQL database, but any other will do just as well.
If you are using PostgreSQL:
pip3 install psycopg2-binary
Run where your Home Assistant database lives:
sudo -u postgres psql
postgres=# CREATE USER datascience WITH encrypted password 'my_secret_password';
The user needs sufficient rights to the Home Assistant database.
sudo -u postgres psql -dhass
hass=# GRANT CONNECT ON DATABASE hass to datascience;
hass=# ALTER DEFAULT PRIVILEGES IN SCHEMA public GRANT ALL ON TABLES TO datascience;
hass=# GRANT USAGE ON SCHEMA public to datascience;
hass=# GRANT SELECT ON ALL SEQUENCES IN SCHEMA public TO datascience;
hass=# GRANT SELECT ON ALL TABLES IN SCHEMA public TO datascience;
Running your first report
JupyterLab works with Jupyter Notebooks. Think of a notebook like a Word document that can also contain code to explore your data.
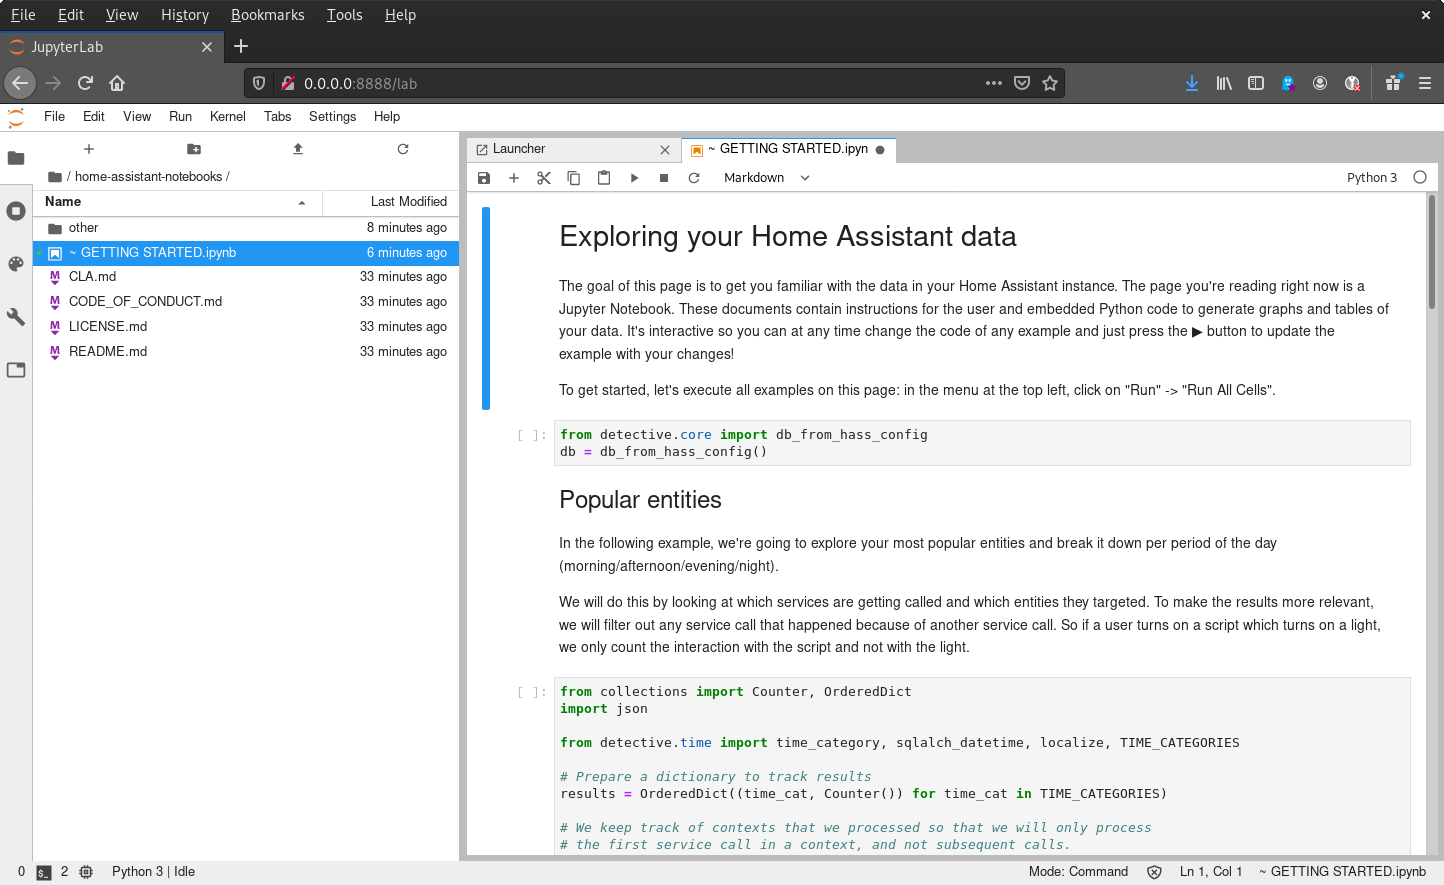
We have prepared a few notebooks for you that will help you get started. Let's start with the notebook GETTING STARTED.ipynb that is available in the cloned repository. You can find it in the home-assistant-notebooks directory. This notebook has been prepared by us to automatically read your Home Assistant data and generate a few interesting statistics about your data!
Open the GETTING STARTED.ipynb notebook.
For PostgreSQL you have to modify the database connection settings.
db = HassDatabase("postgresql://datascience:[email protected]/hass")
To run the report, press the button. This will get you step by step through the notebook.

If the connection is OK then you could click on "Run" in the top menubar and choose "Run All Cells".
The notebook will now generate the full report. Depending on the size of your database, this might take some time. The little square brackets with an asterisk ([*]) to the left of Python code (a cell) will indicate what is currently being executed or about to be executed. Once executed, it will change to [<number>] (number represents the order cells are executed).
The cool thing about these reports is that you can edit the Python code and execute it again to get the latest results, you don't even need to execute the whole report again to see most changes. After each change, just run the cell (by clicking the ▶️ button in the toolbar). Executing a cell will run the Python code and show the latest results.
What's next
You now have all the tools available to you to do data science. If you want to see some more cool notebooks that people have created for Home Assistant then you can also check out the HASS Data Detective usage examples.
If you want to learn more about what data Home Assistant tracks, check out the data primer.